
How to Screed a Floor
A common project to carry out on floors for work or home projects is to install a screed layer. This can be extremely difficult to do without prior experience and the correct tools to carry out the work, so it is important to have all the training and equipment necessary if you want to do the job yourself. A floor which is poorly screeded can easily become damaged later on, even to the point of breaking up and forcing you to begin laborious, expensive work again, so it is important to be well prepared before even beginning to prepare a floor for screeding.
Here at ScreedIt, we have many years of experience in installing high quality, durable screed floors for customers across the UK. As such, we know how to screed a floor step by step, and we can demonstrate this to our customers quickly and professionally. If you have been looking to screed a garage floor, kitchen floor or even the floor of a larger complex such as a warehouse building, we will be able to install it just as you need.
Get in touch with us today and we will be able to screed your planned floor to your exact specifications, using the latest tools and equipment to ensure that the project is completed to the highest standards.
How to Prepare a Floor for Screeding
Depending on the type of screed used and the size of your intended site, a number of factors about your installation can change. This can include the time it will take for your screed to finish curing, the thickness the screed will need to be poured at and how much it will cost overall to screed your floor.
Because of this, it is important to have a plan in place before your work begins. Be sure to have measured the area you are intending to screed, in order to start the project. You will also need to reinforce the layer your screed will sit on if you are intending to use unbonded screed, or expose the aggregate and apply a bonding agent if your screed is bonded. The layer should also be cleaned of all dust and debris before work continues, and the site must be proven to be watertight.
You may also need to mix the screed for a concrete floor, if you are intending to use unbonded screed. By adding polypropylene fibres into the mix and adding water, you will reduce the chances of your floor developing micro cracks over time.
When you choose to use ScreedIt to carry out your installation, you will not have to worry about how to prepare a floor for screeding, or how to mix screed for a concrete floor, as we can discuss what your project will require before beginning any work. Contact us today to learn what we can do for your project, including what we will plan for, pre-installation.
How to Screed a Floor, Step by Step
There is a several step process to installing a screed floor, which we have listed below:
1. Divide up Your Floor Area
To begin the process of screeding your floor, you will need to divide it into sections. At ScreedIt, we will provide our own dividers, but if you do not have these, it is recommended that you use long, straight pieces of timber that are cut to the height of the layer. Wet these pieces down so that they are easily removed after and divide the room into strips.
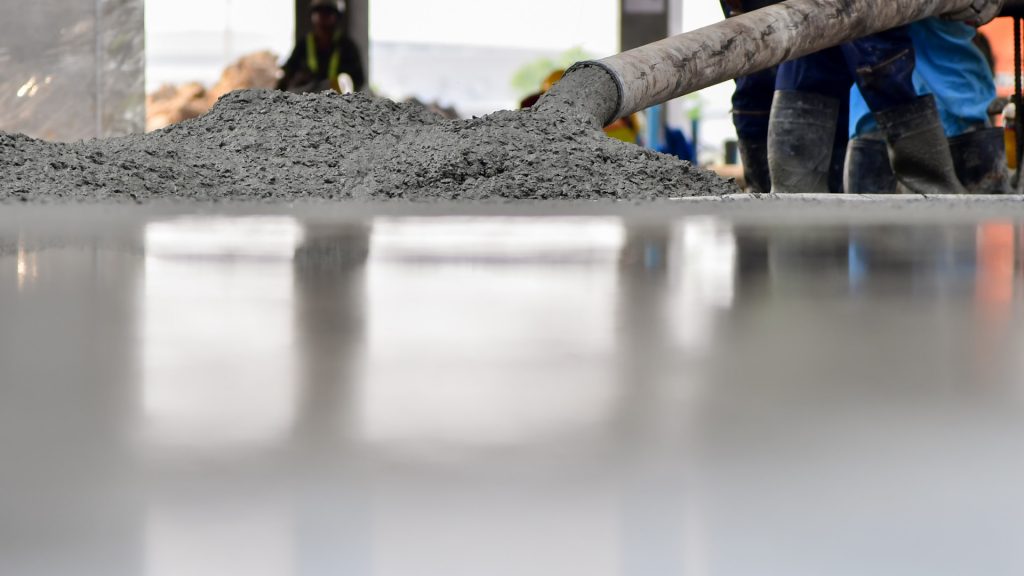
2. Apply a Layer of Screed
Spread out a compact layer of the screed mix on the section farthest from the room’s entrance, using a trowel to move the mixture and compacting it with a screed board or straightedge. Tamp the edges with a tamper to help complete the section.
This part of the process often results in one of the most common problems, which is poor compaction. To ensure that your floor is installed smoothly and correctly, you may wish to call a professional service instead. Call us and we will be able to send our dedicated, highly trained team to screed your floor to the standards needed.
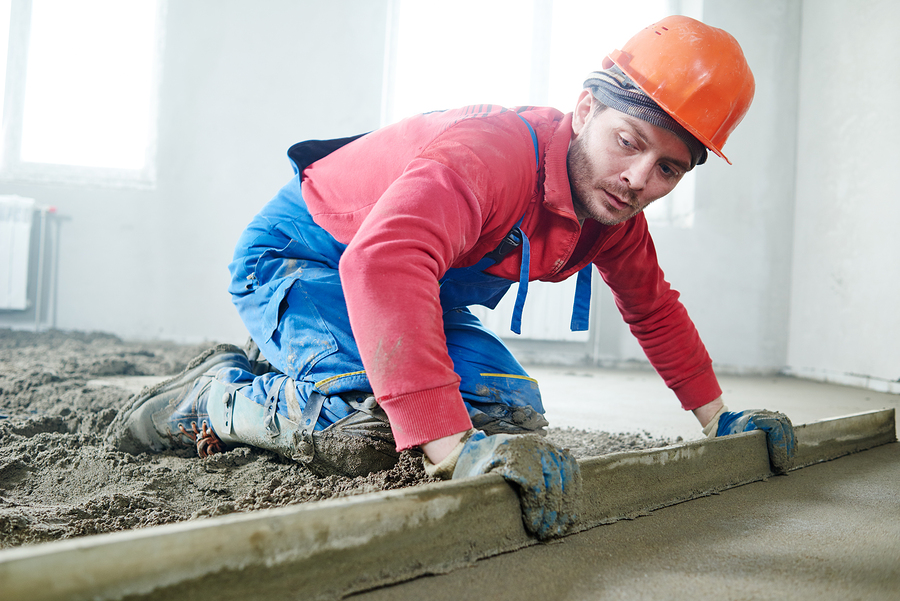
3. Levelling a Floor With Screed
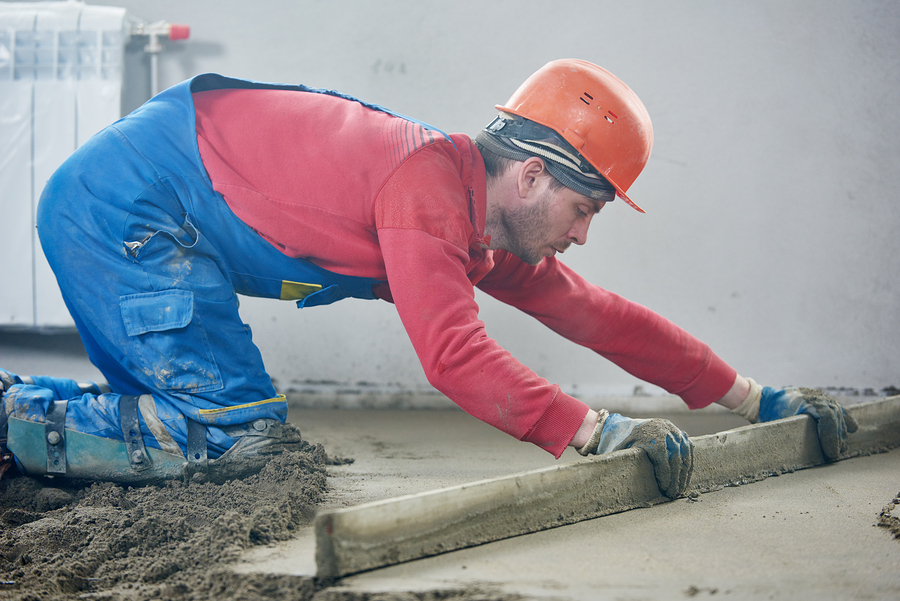
If your screed is not self-levelling (sand and cement screed), you will need to use a straightedge or a straight piece of timber to level the floor. Place it over the timber pieces you are using to divide the sections and push it forward, tilting it to use the corner as a cutting edge and moving it side-to-side in a sawing motion. This will level the screed layer.
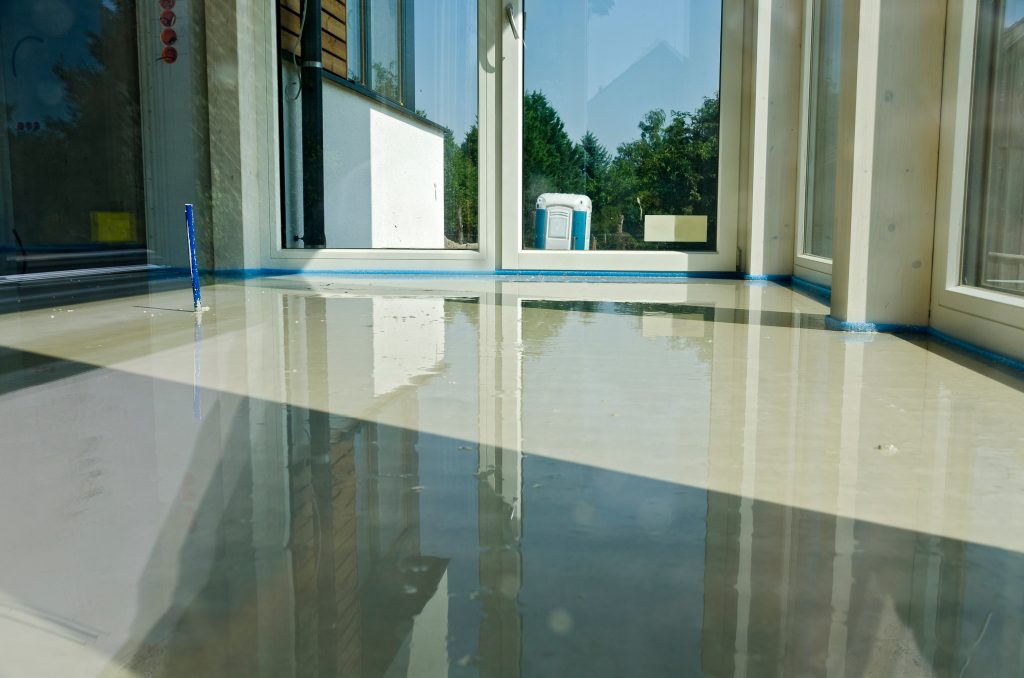
If your screed is self-levelling (otherwise known as flowing screed, or liquid screed), it will already have an agent mixed in that will react when the screed is poured, causing it to compact by itself. This ensures that the level will already be smooth when the screed is completely cured.
To learn more about how to screed a floor with self-levelling screed, get in touch with us today. As a professional screed installation contractor, we have screeded many floors with self-levelling mixtures, so we will be able to answer any questions you may have.
4. Repeat the Process
Continue to screed your entire floor until you have filled all the sections available. Once this is done, remove the timber dividers and fill in the gaps left behind. Repeat this process until your entire floor has been screeded.
5. Float Your Screed
You will be able to remove some imperfections from the new screed floor layer as soon as it has been installed, and once again after the concrete has properly bled.
6. Cure Your Screed
How long it takes to screed a floor will partially depend on the size of the area screeded and the type of screed used in the project. In most cases, an average time of seven days is given for the screed to cure, if left undisturbed under a polyethylene sheet which is sealed at its edges. This may be longer if the temperature in the area falls below 10ºC in a 24-hour period.
When you come to us to install your screed floor, you will find that our liquid screed in particular does not take as long to be cured, and can be walked on just 24-48 hours after it has been poured. To learn more about how long it takes to screed a floor, either with a traditional screed or a liquid variety, contact us today.
7. Let the Floor Dry
After the floor has been cured, it will still need time to dry. Avoid letting vehicle traffic onto it and avoid installing any other layer of flooring on it for at least three weeks. Heavy traffic in particular should be avoided until all installations are complete.
On average, a screed floor should dry at a rate of 1mm per day. For more information about how long it will take to have a complete screeded floor, call us today and one of our trained members of staff will discuss the process with you.
How Much Does it Cost to Screed a Floor?
How much you need to screed a floor depends on several factors, from the price and quality of the screed used to the size and depth of the floorspace it is installed in. As the factors vary, it can be difficult to provide an exact price.
On our site, you will find our service for a quick quote on any screed flooring you wish to have installed, meaning that you will not have to put an estimate on the price of your new floor. If you have any more questions about how much it is to screed a floor, call us today and we can discuss the features of your property before you place your order.
Contact the Professionals
It can cost you time and money to attempt to screed a floor if you do not have the proper training, equipment or mix. If the process goes wrong, this can delay the installation and means that you will lose money from your work budget trying to get it fixed.
In order to avoid this, it is highly recommended that you get in touch with a professional screed installation service, to ensure that you are getting a quality floor that will last, no matter what you need it for.
Get in Touch With Us
If you have been looking for a fast, professional service to screed a floor for a work or domestic project you have, then contact ScreedIt today. We have years of experience in this industry and we love what we do, so we want our customers to receive the best of what we have to offer. That is why we do everything we can to keep every floor we install to the highest standards.
Get in touch with us today and we can discuss the specifics you need for your floor, before we begin our work.